Quick start
Go from an empty workspace to your first automated result in about 10 minutes.
This is the guided happy path for a brand-new workspace. In a handful of steps you'll bring in some data, visualize it, track work against it, automate a step, put an agent to work, and finish by wrapping everything up in a Space. Each step links to the deeper guide if you want more detail.
You don't have to do these in order forever, but the first time through, following them top to bottom gives you a complete tour of how the pieces of Spark connect.
Before you start
You'll need access to a Spark workspace. If someone on your team already set one up, ask them to invite you; if you're the first person in, you'll land in an empty workspace ready to fill. Have a small CSV handy: a list of counterparties, positions, funds, or anything you already track in a spreadsheet works perfectly for this walkthrough.
1. Get oriented
When you open Spark, the left sidebar is your map. At the very top it has three tabs: Home (your workspace), Chat (the Agent), and Settings (configuration). Click between them to switch modes.
You'll spend this quick start mostly in Home. Under the Main heading there you'll see Tasks, Data, Files, Workflow, and Canvas. The button at the very top of the sidebar shows your workspace name with a ⌄ chevron; click it to switch workspaces if you belong to more than one.
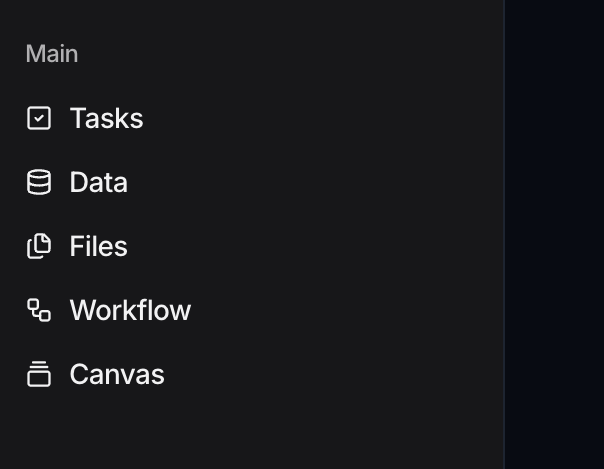
For a full tour, see Navigating the workspace.
2. Bring in your data
Data is the foundation everything else builds on, so start there.
- In the sidebar (Home tab), click Data.
- Click Manage at the top of the data view. This opens the Data Objects admin page, which is the only place data objects are created.
- Click New, then Create from scratch.
- In the New Data Object dialog, give it a clear name (for example, Counterparties). Drag your CSV onto Drop your CSV here, then click Extract attributes with AI: Spark reads the columns and proposes the attributes for you. Leave Ingest file's content checked so the rows are imported too.
- Click Create.
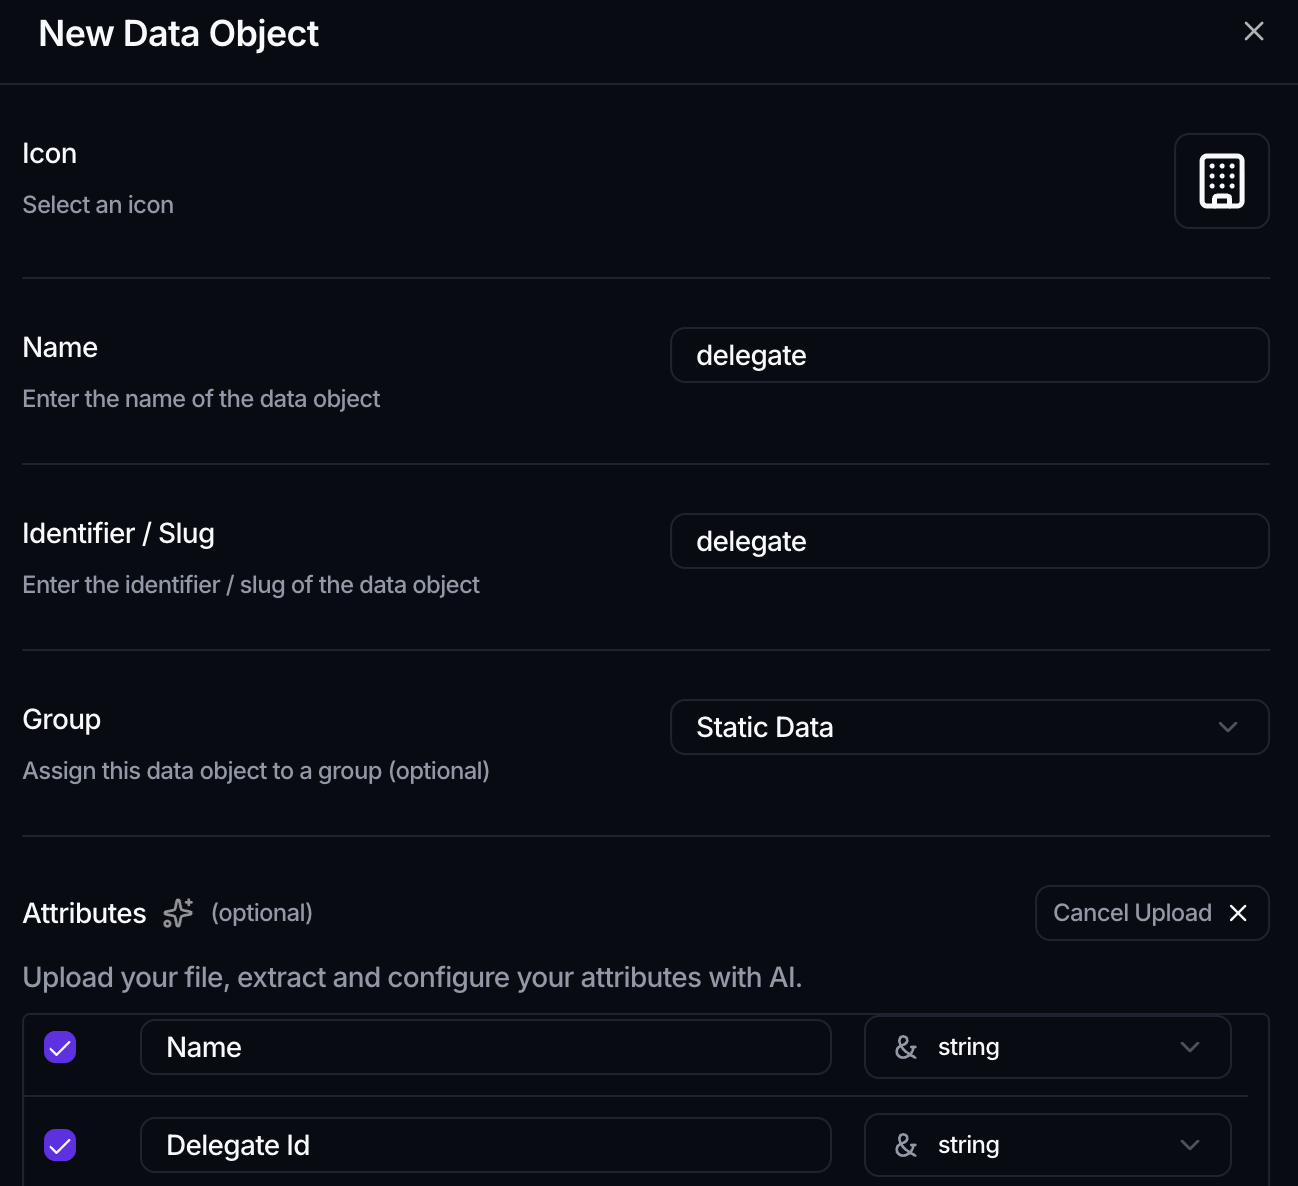
Spark creates the object and loads your records. If you'd rather import into an object that already exists (with AI-assisted column mapping), see Add, edit & import records. For the object model, see Create a data object.
3. Build your first dashboard
A canvas is a dashboard made of widgets: tables, charts, and KPI tiles built directly on your data.
- In the sidebar, click Canvas, then New.
- Name it in the New Canvas dialog and click Apply. Spark opens the canvas already in edit mode.
- Use the toolbar at the bottom of the canvas to add widgets: Add table (point it at your data object), then Add chart or Add KPI to surface a number that matters.
- Click Save.
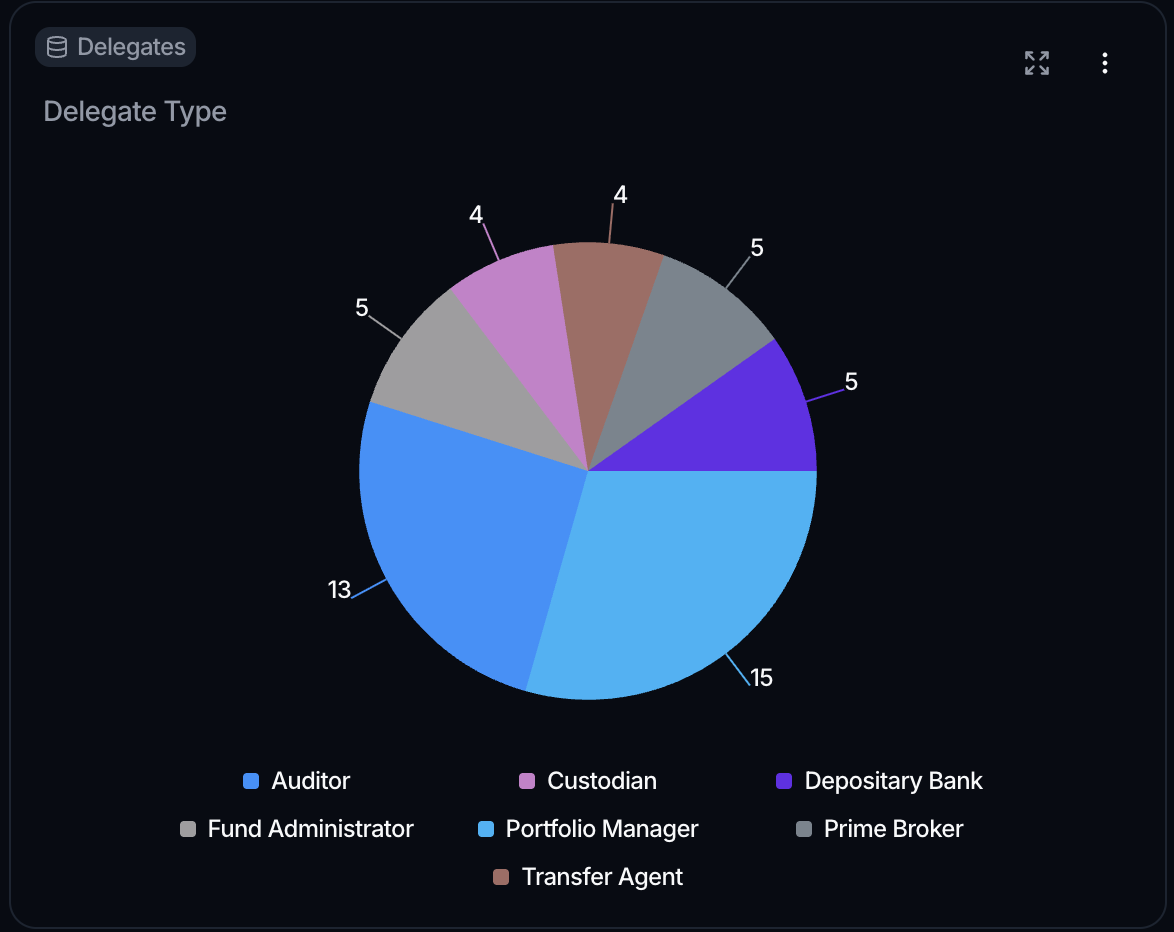
To edit the canvas again later, click Edit Canvas in the top-right banner. See Build a canvas to go further.
4. Create a task and upload a file
Tasks track work and connect it to the data it relates to; files hold the documents that work depends on.
- In the sidebar, click Tasks, then New.
- Type a title (for example, Review Q3 counterparty exposure) and an optional description, set yourself under Assignees, then click Create.
- Open the task to link it to a Canvas, so the dashboard's context travels with the work.
- Files live on their own page. Click Files in the sidebar, click Import, drag a document into the Upload Files dialog, and click Submit.
See Create and assign and Upload and organize.
5. Automate a step with a workflow
A workflow turns a repeatable operation into something that runs on its own, from a trigger (what starts it) through one or more actions (what it does).
- In the sidebar, click Workflow, then New.
- Fill in the Create Workflow dialog and click Save changes.
- Build it from a trigger and one or more actions. For a sign-off step, add a Human Review action; pending items then appear under the workflow's Interventions tab, where a reviewer can Approve or Reject.
- A new workflow starts as a Draft, so click Activate to enable it.
See Build a workflow and Human-in-the-loop.
6. Put an agent to work
Before you can chat, you need an agent.
- Open the Settings tab in the sidebar, go to Agent and then Agents, and click New (or Create from scratch).
- Give the agent a name and, optionally, add the connectors, tools, and skills it should have, then save. See Create and configure.
- Switch to the Chat tab, start a New chat, and tag your agent with @.
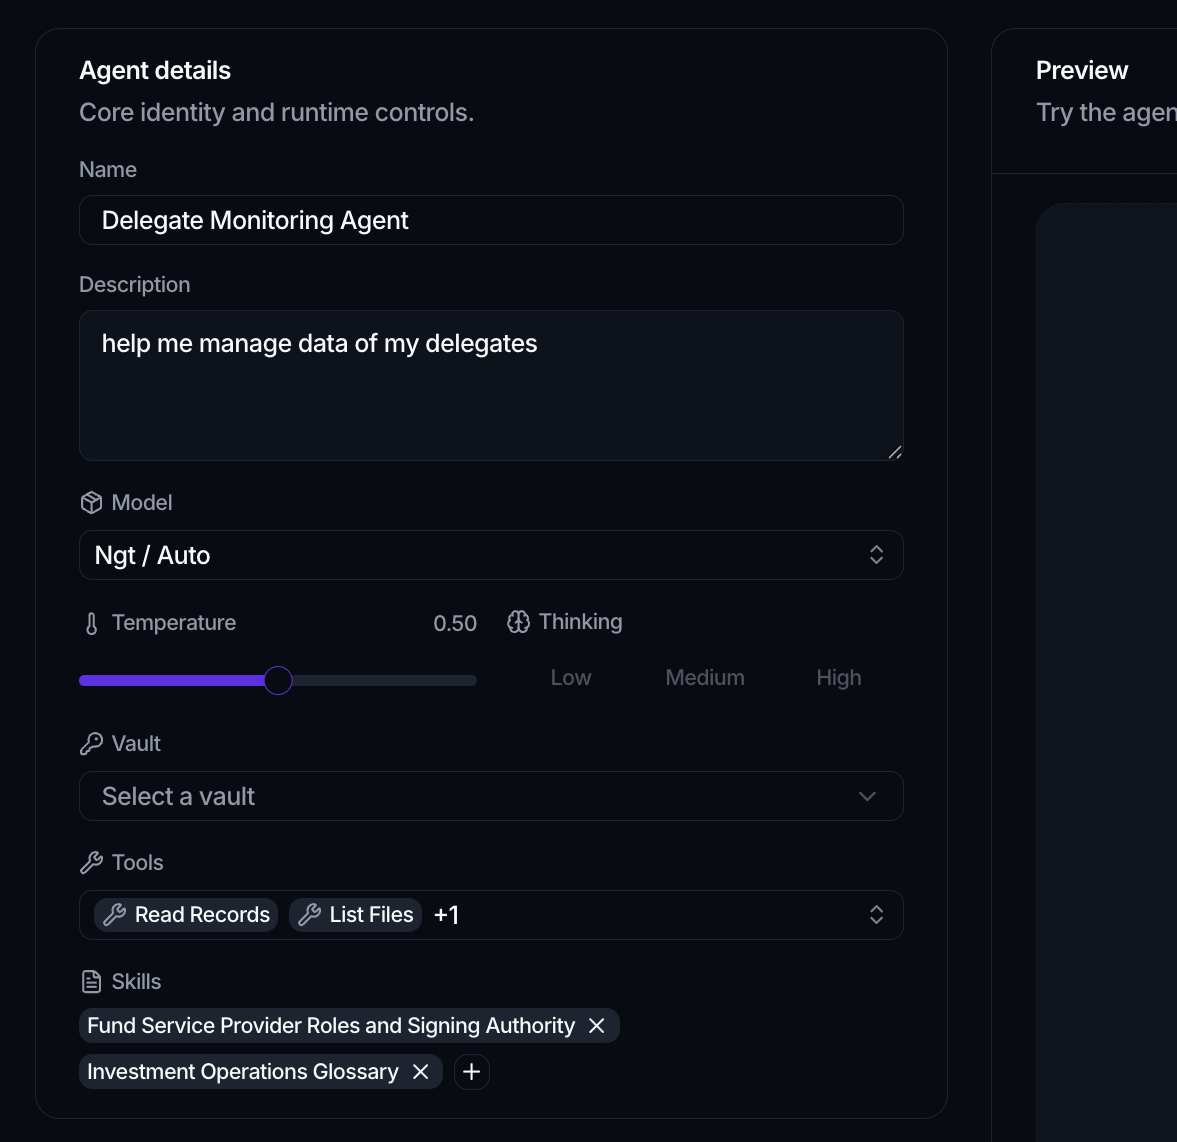
Because the agent runs inside your workspace, it can already see your data object, canvas, and tasks, with no copying and pasting. Try prompts like:
- "Summarize the records in my Counterparties object."
- "Which of my open tasks are unassigned?"
- "Draft a note explaining the KPI on my canvas."
See Chat with an agent to learn what it can do.
7. Wrap it all up in a Space
You've now built a handful of separate pieces. A Space bundles them into one use case so your team has everything for this work in a single place.
- Open the Settings tab, go to Spaces (under Administration), and click New.
- Name it in the New space dialog and click Create.
- Open your Space and go to the Components tab. Use the + buttons under Data objects, Canvases, and Agents to add the object, canvas, and agent you built.
From now on, opening the Space gives everyone the same focused starting point. See Create a Space to go deeper.
What you've built
In one pass you've touched every core object in Spark and seen how they reinforce each other: data feeds the canvas, tasks and files track the work, a workflow automates a step, an agent acts on the whole picture, and a Space ties it all together for one use case.
Where to go next
- Want the mental model behind all this? Read Core concepts.
- Need the vocabulary? Skim Key concepts.
- Ready to go deeper on one area? Jump straight into Spaces, Data, or the Agent.