Create a task
Create tasks, set their properties, assign them, change their status, and follow them with comments and an activity log.
A task tracks a piece of work and who owns it. Tasks live on their own page and can later be connected to a canvas so work sits next to the data it relates to. This page covers creating a task, setting its properties, assigning it, moving it through its statuses, and following it with comments and an activity log. For the mental model, see Core concepts: Tasks.
Create a task
- In the sidebar (Home tab), click Tasks.
- Click New at the top right.
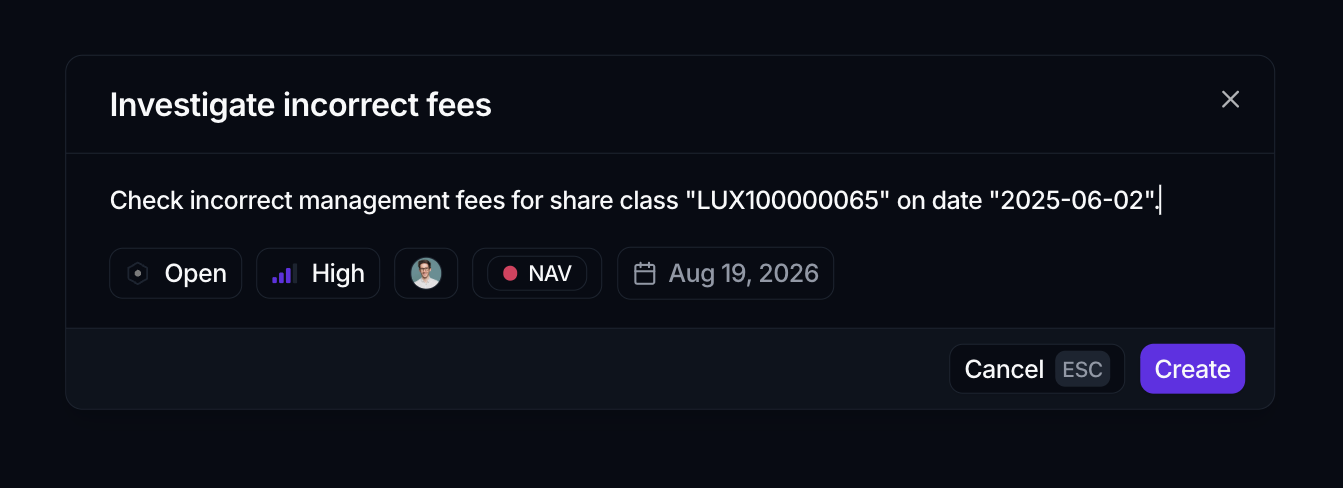
- In the dialog, type a name in the Task title... field.
- Optionally add detail in the Description... field.
- Click Create.
Pressing Enter also creates the task once it has a title. The Create button stays disabled until you enter one.
Set properties before creating
The create dialog shows a row of property selectors below the description. Set any of them now, or leave them and adjust later from the task:
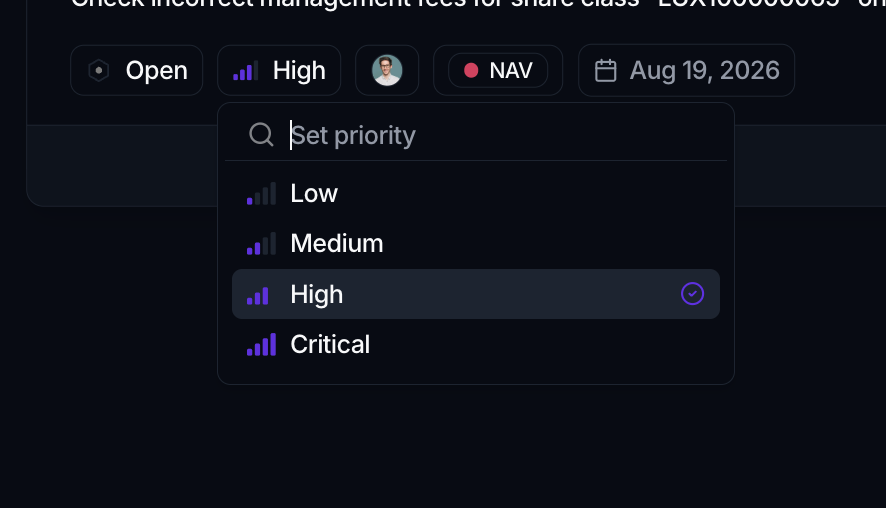
- Status and Priority are workspace-defined values; each defaults to the first value configured in your workspace.
- Assignees picks one or more workspace members.
- Labels tags the task so you can filter by it.
- Due date opens a calendar; the button reads Due date until you choose one.
Assign the task
Assign from the Assignees selector, either in the create dialog or later on the task:
- Click Assignees.
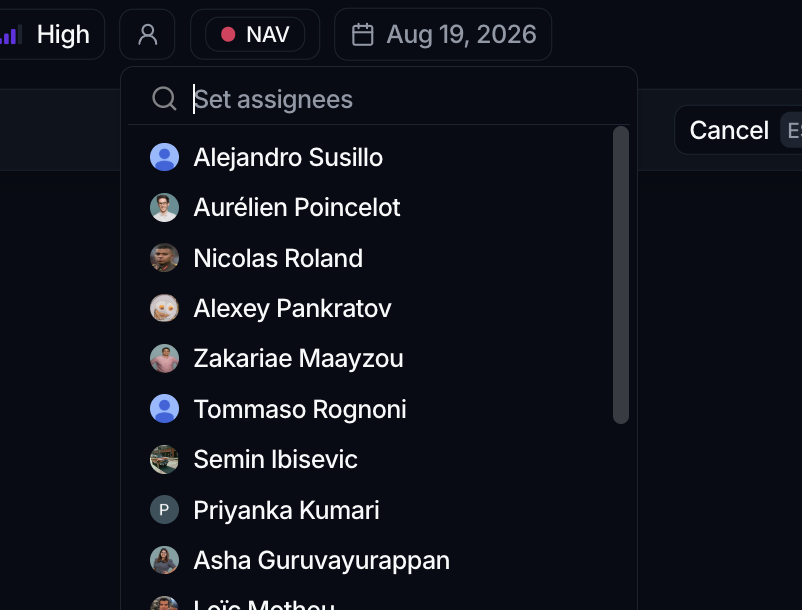
- In the Set assignees search, find a member by name or email.
- Click a member to add them; click again to remove.
You can add several assignees. There is no one-click self-assign, so add yourself the same way, by selecting your own name.
To reassign quickly from the list without opening a task, right-click its row and use the Assignees submenu. That same menu also sets Status, Priority, Labels, and a due date.
Open and edit a task
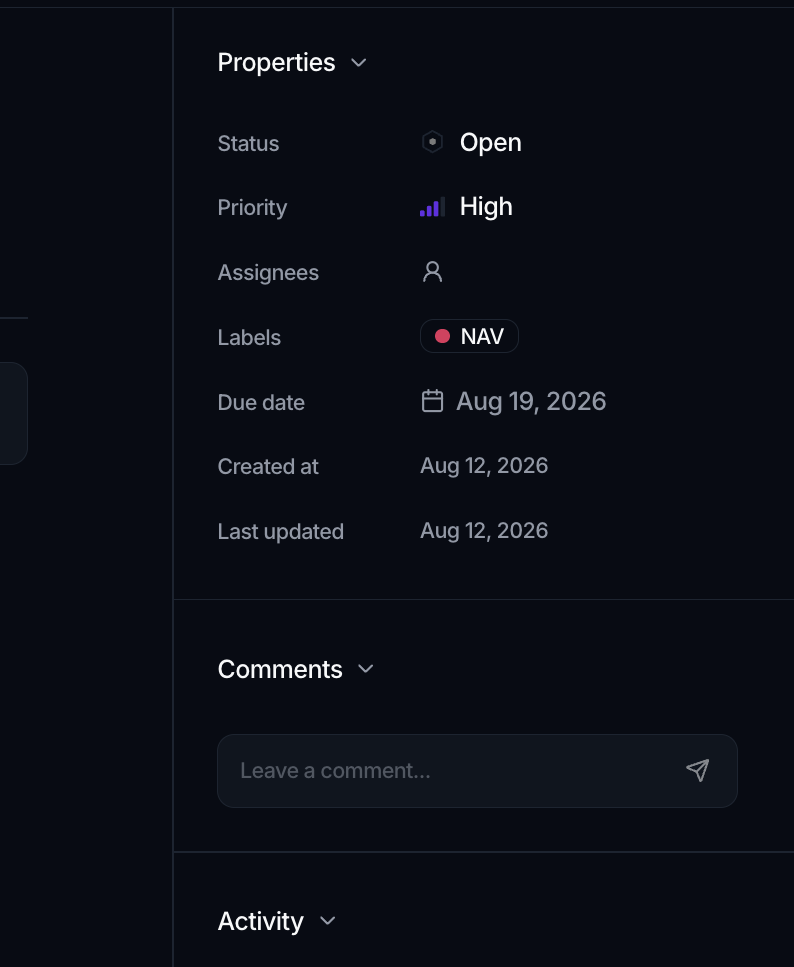
Click a task's row to open it on its own page, or Ctrl/Cmd+click it to open the task in a new browser tab and keep your place in the list. The page has two panes: the main pane holds the title, description and any linked canvas, and a side panel on the right stacks Properties, Comments and Activity.
- Edit the title inline (it shows Task Title when empty); it saves when you click away.
- Edit the description in the editor below it (placeholder Add description...); it also saves as you click away.
- The Properties panel repeats the selectors from the create dialog, Status, Priority, Assignees, Labels and Due date, so you can change any of them at any time. It also shows read-only Created at and Last updated dates.
- Any field your workspace has added to Tasks appears in the same panel below the standard ones, with the editor its type calls for: a text or number box, a calendar, a true/false picker, a record or user selector, or a file picker. See Task fields.
Act on several tasks at once
Select tasks with the checkboxes at the left of the list, or Ctrl/Cmd+click rows to build a selection. The header checkbox selects everything loaded, and if more tasks match your filters a prompt offers to select all of them.
An action bar then appears with everything you can do to the selection:
| Action | What it does |
|---|---|
| Status | Sets the same status on every selected task |
| Priority | Sets the same priority |
| Assignees | Assigns the same members |
| Labels | Replaces the labels on the selected tasks with the set you choose |
| Comment | Posts one comment to every selected task |
| Archive | Archives them, keeping them restorable |
| Delete | Removes them permanently, after a confirmation |

Comment on several tasks at once
Comment opens a dialog where you write once and post to the whole selection. It's the quickest way to tell a batch of tasks apart from the outside, for example noting which quarter's review they belong to, or asking the same question of every owner.
Each task gets its own comment in its own thread, so replies stay with the task they belong to.
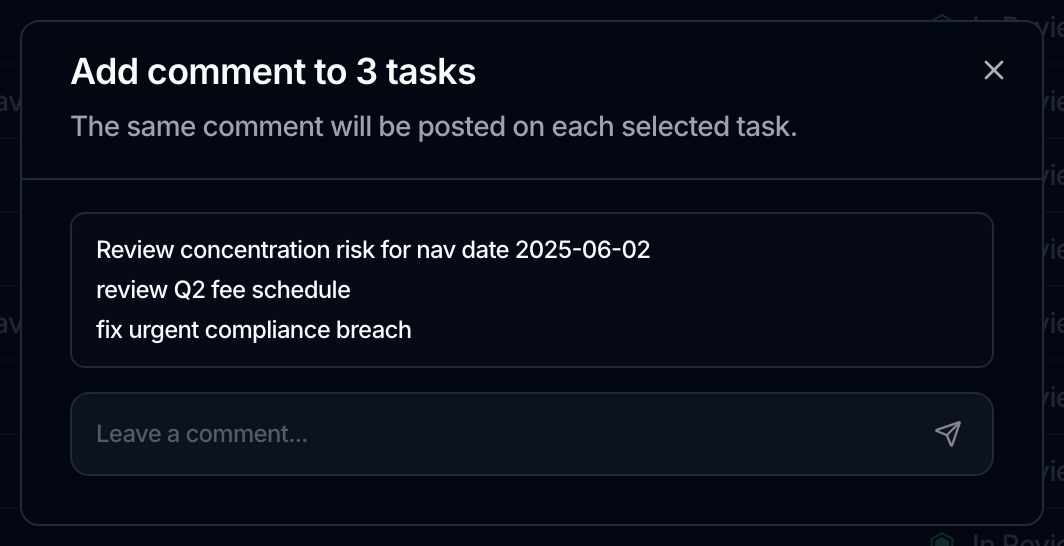
The labels control replaces the labels on the selected tasks rather than adding to them, so choosing none clears them. Everything else in the bar sets a value or leaves it alone.
Move a task through its statuses
Statuses and priorities are workspace-defined, so the exact names come from your setup rather than a fixed list. Change one wherever it's handiest:
- On the list, right-click a task row and open the Status submenu, then pick a value.
- On the task, open the Status selector in the Properties panel.
The same applies to Priority, from the row menu or the Properties panel.
Comment on a task
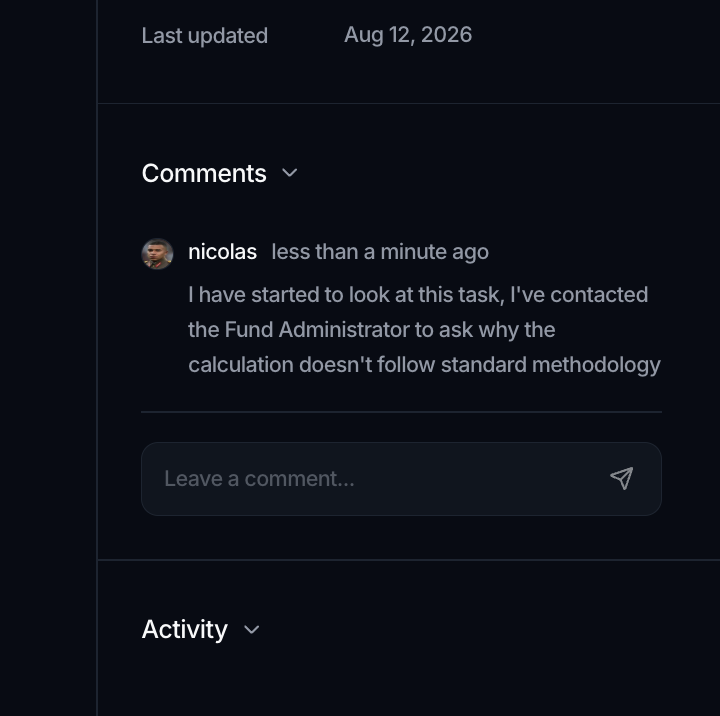
The Comments section in the task's side panel is a thread for discussing the work.
- Type in the Leave a comment... box and press Enter to post (use Shift+Enter for a line break). Comments are plain text.
- Reply to a comment to start a thread. A comment with replies shows a count such as 2 replies and a Hide replies toggle, along with when the last reply landed.
- Edit your own comment with its pencil button, then Save or Cancel. An edited comment is marked (edited).
- Each comment shows how long ago it was posted, with the exact time on hover.
Follow changes in the activity log
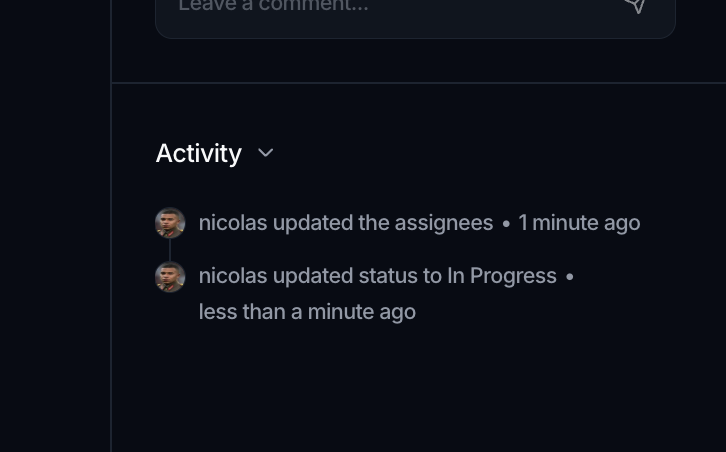
Below the comments, the Activity section records changes to the task over time. Each entry names who made the change, what they updated, and how long ago, so you can see a task's history at a glance. Comments and activity are kept as separate feeds.
Where to go next
- Shape the task list: Task views
- Connect a task to its data: Attach a canvas
- Build a place for the numbers: Build a canvas
- Track your own properties: Task fields