Add, edit & import records
Get records into a data object and keep them up to date.
Once a data object exists, you fill it with records (its rows). You can add and edit them by hand, or import many at once from a CSV. This page covers all three.
Add a record
- Open the data object to see its record grid.
- Click New Record at the top right of the grid toolbar.
- Fill in the fields in the dialog, then click the Create button (it's labelled with the object's name, for example Create Counterparty).
The dialog is titled New followed by the object's name and shows one field per attribute, each with the input that fits its type: a text box for text, a number box for numbers, a calendar for dates, a Yes / No / None picker for booleans, and a searchable record picker for relationship and option attributes (select, status, priority, and the like). Formula attributes aren't shown, since they're computed, and the built-in system fields (the id and the created and updated timestamps) are filled in for you.
You can submit with the Create button or by pressing Enter, and dismiss the dialog with Cancel or Esc. When the record saves, the dialog closes and the new row appears in the grid.
Edit records in the grid
The record grid opens read-only. You can scan it, filter it and reorder its columns without any risk of changing a value, and editing is a mode you enter on purpose.
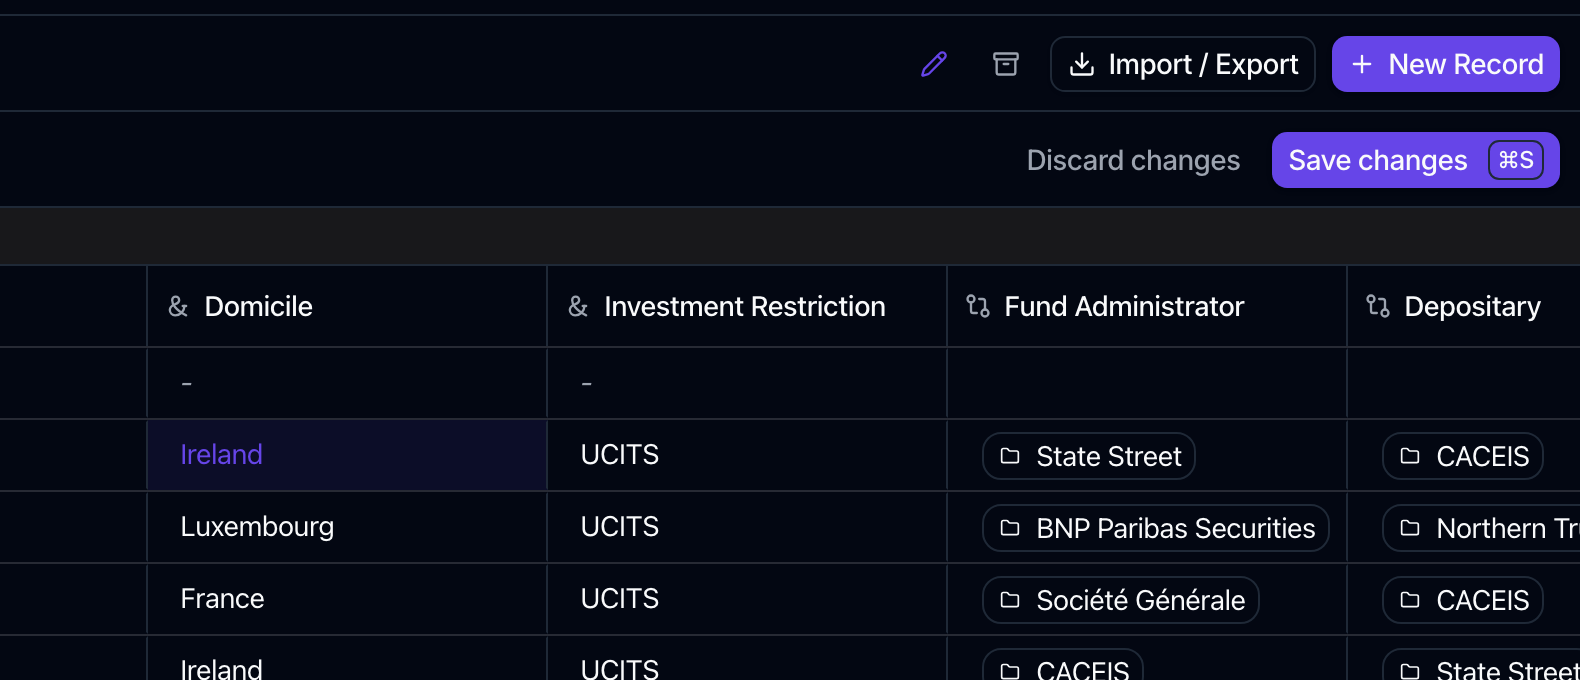
- Click the pencil in the top toolbar (Edit records). It tints to show the mode is on.
- Make your changes in the grid.
- Click Save changes, then click the pencil again (Leave edit mode) when you are done.
While edit mode is off, every cell is inert: clicking one selects it and nothing else.
Editing cells
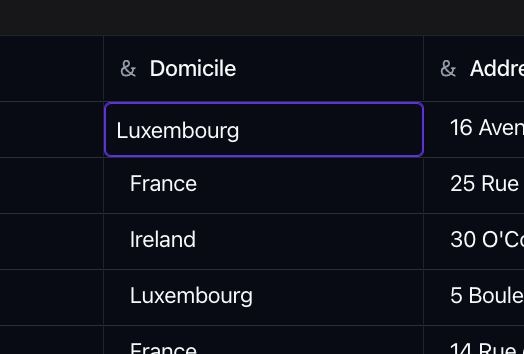
- Start editing with a single click on a cell. The editor matches the attribute type: type into text and number cells, pick a day from the calendar on date cells, choose Yes, No or None on booleans, and search the record picker on relationship and option cells. File cells open a file picker.
- Move around with the usual grid keys. Enter or Tab commits the cell and moves to the next one, Esc cancels the edit you're in, and Ctrl+Z / Ctrl+Y undo and redo your edits.
- Read-only cells appear in grey and can't be edited even in edit mode: formula columns (computed for you), the system fields such as the id and timestamps, columns borrowed from another object with Merge, and every cell on an archived row.
Saving and discarding
Inline edits are not saved as you go. Your changes are held locally, and a Save changes button and a Discard changes button appear while any edit is pending. Click Save changes (or press ⌘S / Ctrl+S) to write them all at once, or Discard changes to roll them back.
Nothing is lost quietly: leaving edit mode with pending changes asks you to confirm first, and so does closing or reloading the tab. If a save is rejected, for example because a value breaks a uniqueness constraint, your edits are kept and the cells the server refused are highlighted, so you can correct them and save again.
What edit mode does not gate
Reading the data is never restricted. Filters, sorting, column order and width, hiding a column, renaming a column header, aggregations and formula columns are all available while the grid is read-only, because they change how you look at the records rather than the records themselves. See Reading and editing and Manage data views.
Work with records in bulk
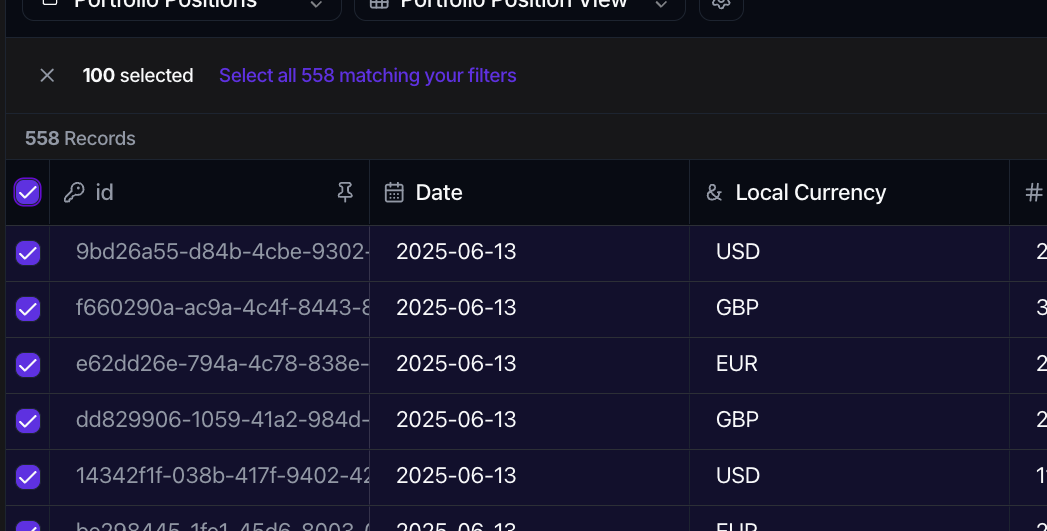
To act on many records at once, select them with the checkboxes at the left of the grid. The header checkbox, Select all loaded records, selects everything currently loaded; if more rows match your filters, a prompt lets you Select all N matching your filters.
While records are selected, a bar shows N selected with actions on the right:
- Archive hides the records from active views, and Restore brings archived ones back.
- Delete removes them permanently. Before you confirm, the dialog previews the impact, including how many related records will be detached or also deleted. Deleting cannot be undone.
Use the × on the bar to clear the selection.
Import a CSV into an existing object
To add many records at once, import a CSV from the object's record grid. This flow adds new records; it does not update existing ones by matching a key column.
Open the importer
- Open the data object to see its record grid.
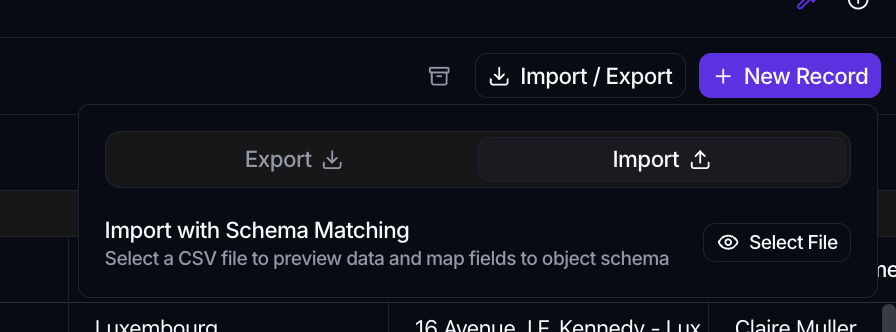
- Click Import / Export in the toolbar, then switch to the Import tab.
- Under Import with Schema Matching, click Select File and choose a
.csvfile. Files are read as comma-separated, and the first row is always treated as the header.
Spark parses the file and opens the Import Data Preview, a three-step wizard: Map, Validate, then Import. As it opens, Spark also takes a first pass at matching your columns to the object's attributes by name.
Step 1: Map columns to attributes
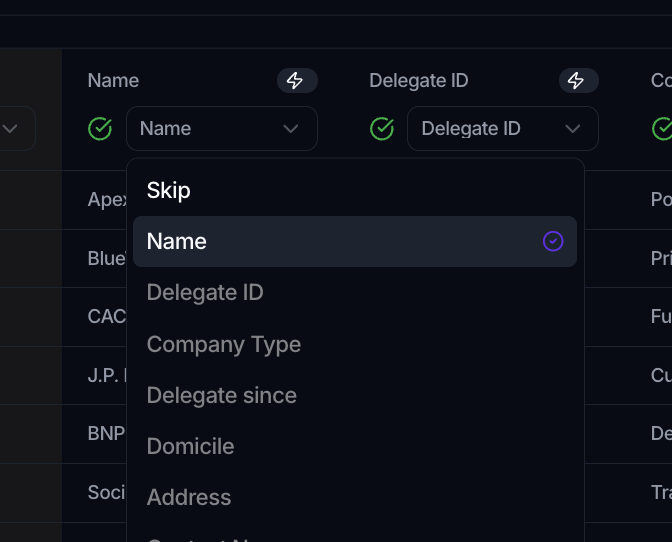
Each CSV column has a dropdown where you choose the attribute it should fill, or Skip to leave it out of the import.
- Columns Spark matched by name are pre-filled and tagged Auto; the rest start blank and need a choice. A header badge tracks progress as Mapped, and an icon on each column shows whether it's mapped, skipped, or still undecided.
- Text, number, date, datetime, boolean, select, multi-select and user attributes can receive a column. Option and user columns are matched by name, so the file can carry
EMEAor a member's name rather than an id; a name that matches nothing is reported as an error on that cell rather than quietly added to the option set. Relationship, file, and formula attributes are listed but disabled, with the reason shown, because they are filled through links or computed automatically rather than imported. - To resolve the remaining columns quickly, click Map with AI (offered while any column is still undecided). It proposes an attribute for each leftover column, which you can then adjust.
You can't continue until every column is either mapped or skipped. Click Next, and Spark runs validation automatically.
Step 2: Validate and fix
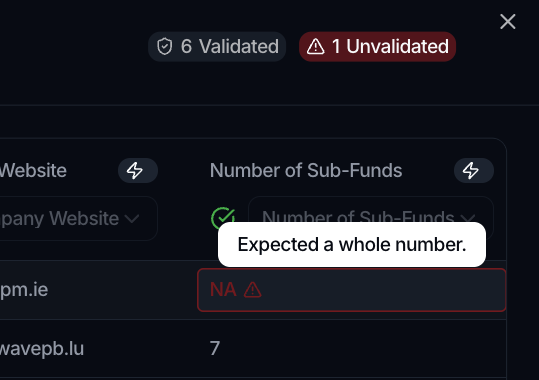
Spark validates every row against the object's attributes, checking value types (dates, numbers, booleans), lengths, and required fields. This runs on the server against the whole file, not just the rows shown in the preview.
Problems are surfaced in place:
- An invalid cell turns red; hover it to read what's wrong. Each row gets a green or red marker, and header badges count how many rows are Validated and how many are still Unvalidated.
- If the file can't be read at all, a This file cannot be imported box lists the reasons instead.
To fix issues without leaving the wizard:
- Click a red cell, edit the value, and press Enter. Edited cells stay highlighted until you re-check them.
- When you've made your edits, click Validate to re-run the checks. Corrected cells clear.
- If the real fix is a different mapping, click Back to return to Map, change the column, and validate again.
Use Show invalid rows only to focus on the rows that still need attention. Every row must be valid to move on; there's no option to skip bad rows, so keep fixing and re-validating until nothing is red and no edits are pending. Then click Next.
Step 3: Import
Review the final data, then click Import N Records (the button names the row count). Spark imports the file and, on success, closes the wizard, refreshes the grid, and reports how many records were imported (and how many were skipped, if any).
Large files are handled fully: the preview grid shows up to the first 5,000 rows and 100 columns for speed, but every row and matching column in the file is validated and imported. If you close the wizard mid-import (with its × or Esc) while you have mapping or edits in progress, Spark asks to Discard this import? so you don't lose the work by accident.
Other ways to get data in
- Creating a brand-new object from a CSV: see Create a data object, where Extract attributes with AI builds the schema for you.
- On a recurring schedule: pull files automatically with Set up SFTP.
- In response to an event: fetch and load data with a workflow.
Where to go next
- Shape how records display, and export them: Manage data views
- Reuse a common shape: Data object templates
- Understand the two modes: Reading and editing