Create a Space
Create a Space and add the data objects, canvases and agents for a use case.
A Space groups the data objects, canvases, and agents for one use case so a team lands in the right place. For the mental model behind Spaces (what they are and when to reach for one), see Core concepts: Spaces. This page is the how-to.
Create a Space
- Open the Settings tab in the sidebar and go to Spaces (under Administration). You can also reach it from the Home tab with Manage spaces on the Spaces group.
- Click New.
- In the New space dialog, give it a name and an optional description, then click Create.
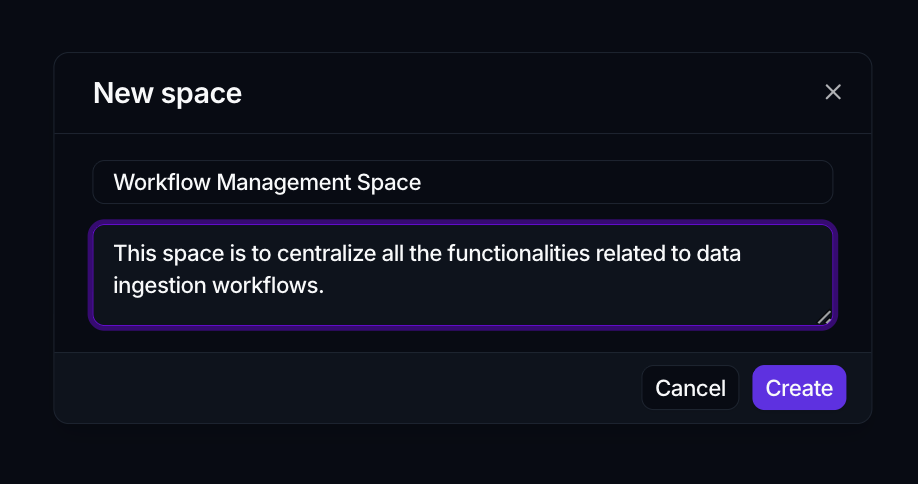
Set its icon, name and description
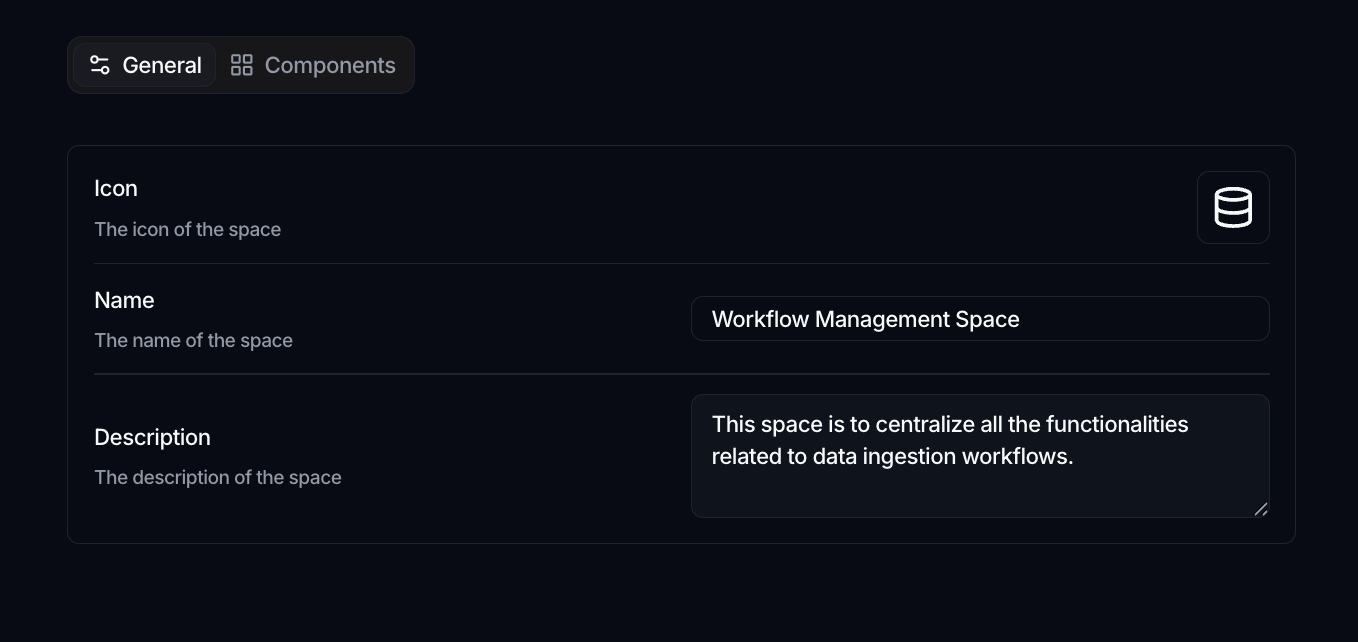
Open a Space from the Spaces list to edit it. The editor opens on the General tab, which has three fields:
- Icon picks the symbol shown next to the Space.
- Name is the label your team sees.
- Description ("What is this space for?") is an optional line of context.
Add items
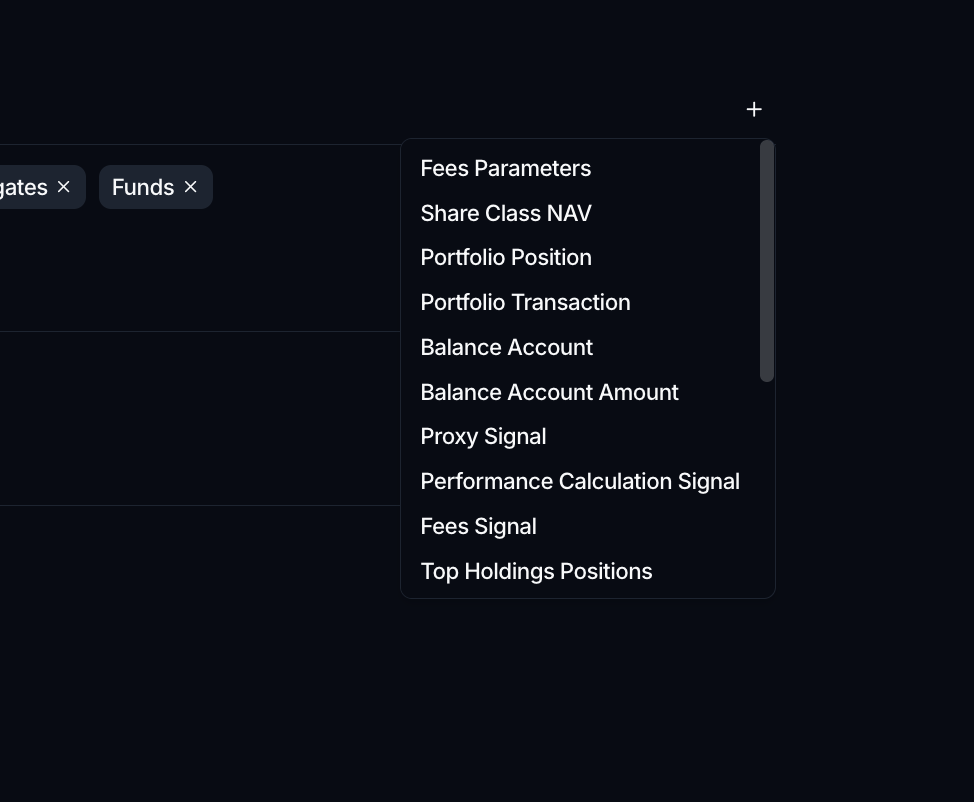
Switch to the Components tab. It has three sections, each with a + button:
- Data objects for the objects this use case depends on.
- Canvases for the dashboards that visualize them.
- Agents for the agents configured for this use case.
Click + in a section and pick from the list. Added items appear as chips; use the × on a chip to remove one. Your changes are saved as you go.
Where a Space shows up
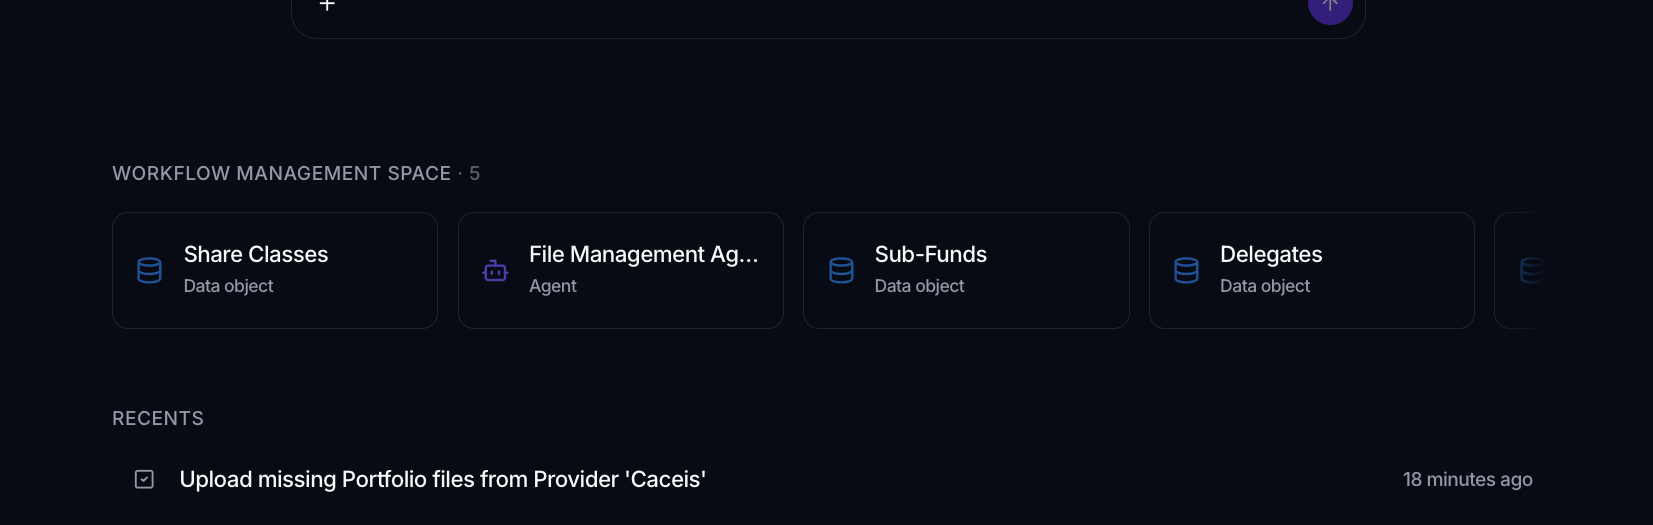
Once a Space has items, it appears in two places in the Home tab: as its own group in the left sidebar (named after the Space), and as a block on the home overview. There's no separate Space page to open; instead you open an item from the Space and it takes you straight to that data object, canvas, or agent. An empty Space shows No items yet until you add something.
Where to go next
- The idea behind Spaces: Core concepts: Spaces
- Reorder, archive, or delete a Space: Manage Spaces
- Build the data a Space points at: Create a data object