Create an agent
Set up an agent and choose how it behaves.
An agent is a configured assistant you can chat with and put to work in your workspace. You build one on the Agents page, then refine it until it behaves the way you want.
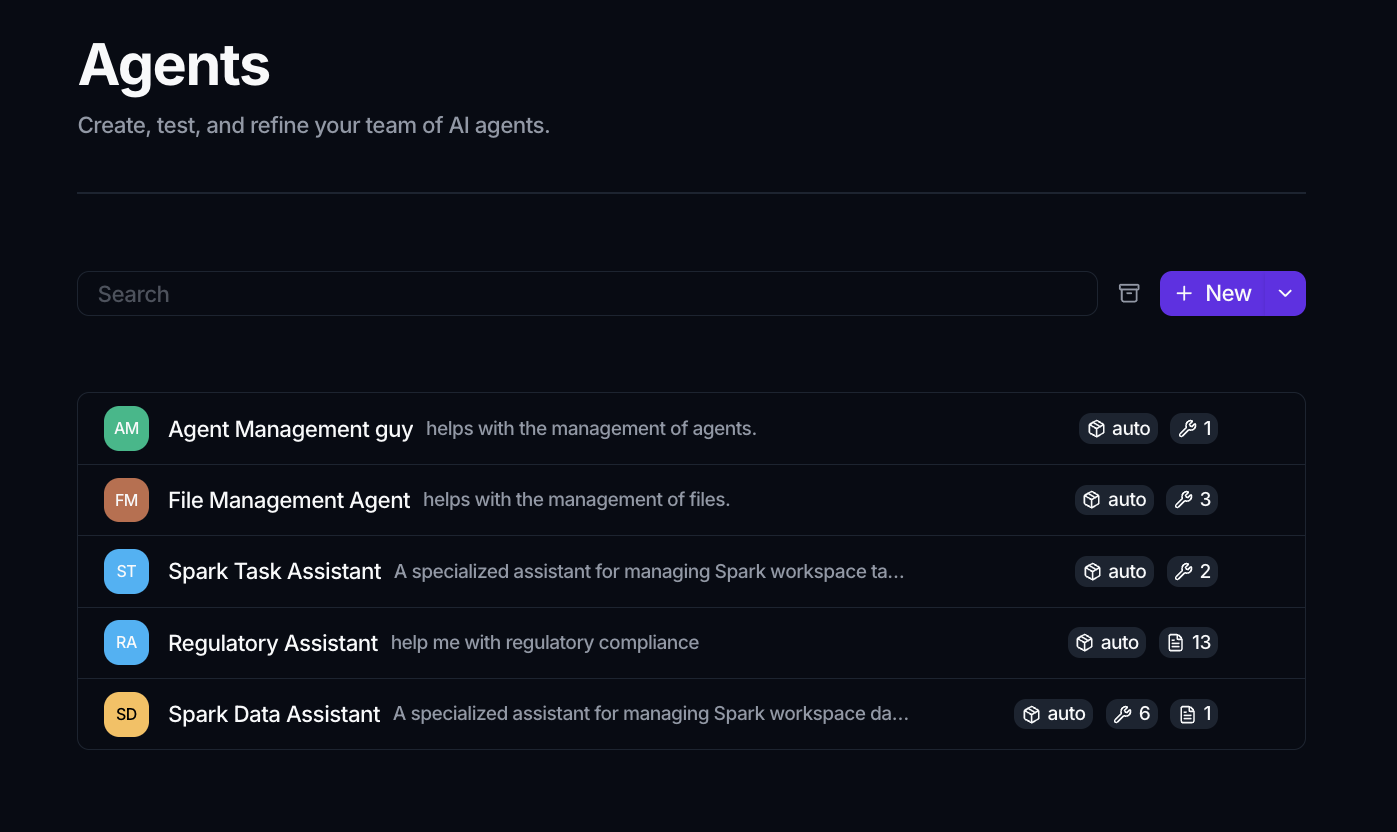
Open the Agents page
- In the left sidebar, open the Settings tab.
- Under Agent, select Agents.
The page lists every agent in the workspace. Use the search box to filter, and the archived toggle to show archived agents.
Click a row to expand it and see where the agent came from: who created it, when it was created and last updated, how many revisions it has been through, its model, the vault it reads credentials from, and its status. To open an agent in the editor, use Edit on its row menu.
Agents created before this was recorded show no author, since there was nothing to fill it in from.
Create an agent
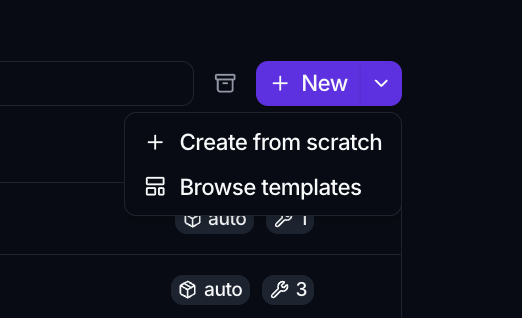
Click New to open a blank agent editor. The split button next to it also offers Create from scratch and Browse templates, so you can start from a ready-made template instead. See Agent templates for the template flow.
Fill in the details
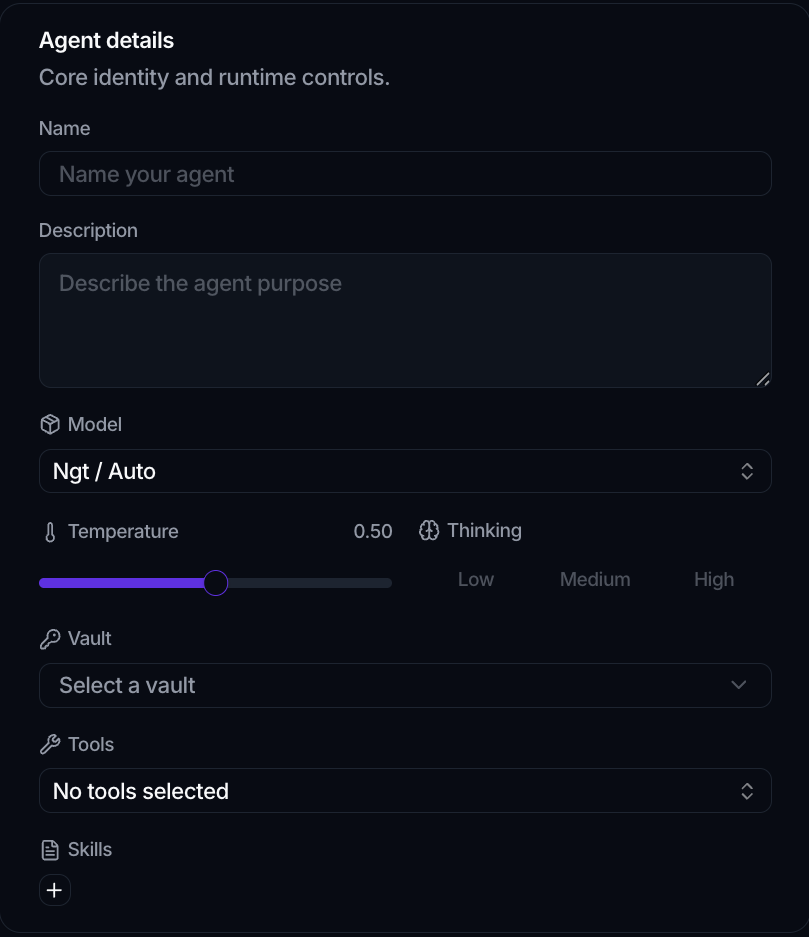
The editor has an Agent details card on the left and a live Preview on the right.
| Field | What it does |
|---|---|
| Name | The agent's display name (up to 50 characters). |
| Description | A short summary of the agent's purpose. |
| Model | The language model that powers the agent. Pick one from the provider list. |
| Temperature | A slider from 0 to 1. Lower is more focused, higher is more varied. |
| Thinking | Low, Medium, or High reasoning effort, when the model supports it. |
| Vault | The credential vault the agent uses (see Vaults). |
| Tools | Actions the agent can call (see Tools). |
| Skills | Reusable guidance the agent can load (see Skills). |
Write the instructions
Use the Instructions card to describe how the agent should behave. Click the expand icon to edit in a larger window. Clear instructions are the single biggest lever on quality.
Preview, then save
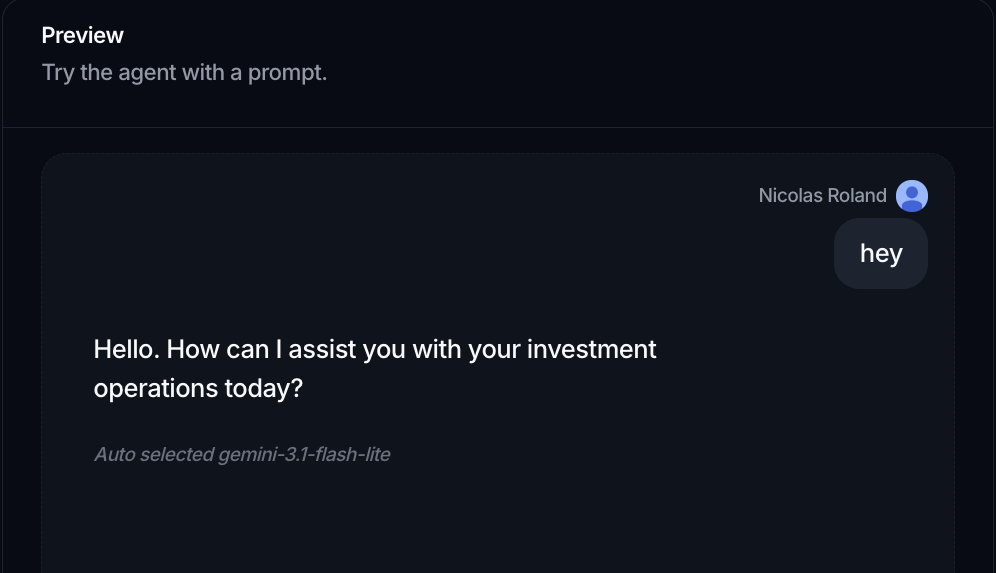
Once you have set a name, a model, and instructions, the Preview panel unlocks. Type a prompt to try the agent before committing. The preview allows a limited number of messages; when you reach it, save the agent to keep going. Click Save to create the agent.