Create a data object
Create your first table-like data object in a workspace, and optionally populate it from a CSV.
A data object is a structured collection of records, like a table with typed columns. It's the foundation everything else in Spark builds on, so creating your first one is an early step. This page covers creating an object and, optionally, populating it from a CSV as you go.
Create a data object
Data objects are created from the admin view, so start there.
- In the sidebar (Home tab), click Data.
- Click Manage at the top of the data view. This opens the Data Objects admin page, the only place data objects are created.
- Click New, then Create from scratch.
- Fill in the New Data Object dialog:
- Icon: an optional symbol shown next to the object.
- Name: a clear, human-readable name (for example, Counterparties).
- Identifier / Slug: the stable, machine-friendly id used in APIs and references. It is filled in from the name, and you rarely need to change it.
- Group: which section the object appears under, defaulting to Main. See Organize objects into groups below.
You can create the object empty and add records later, or import a CSV right here as you create it.
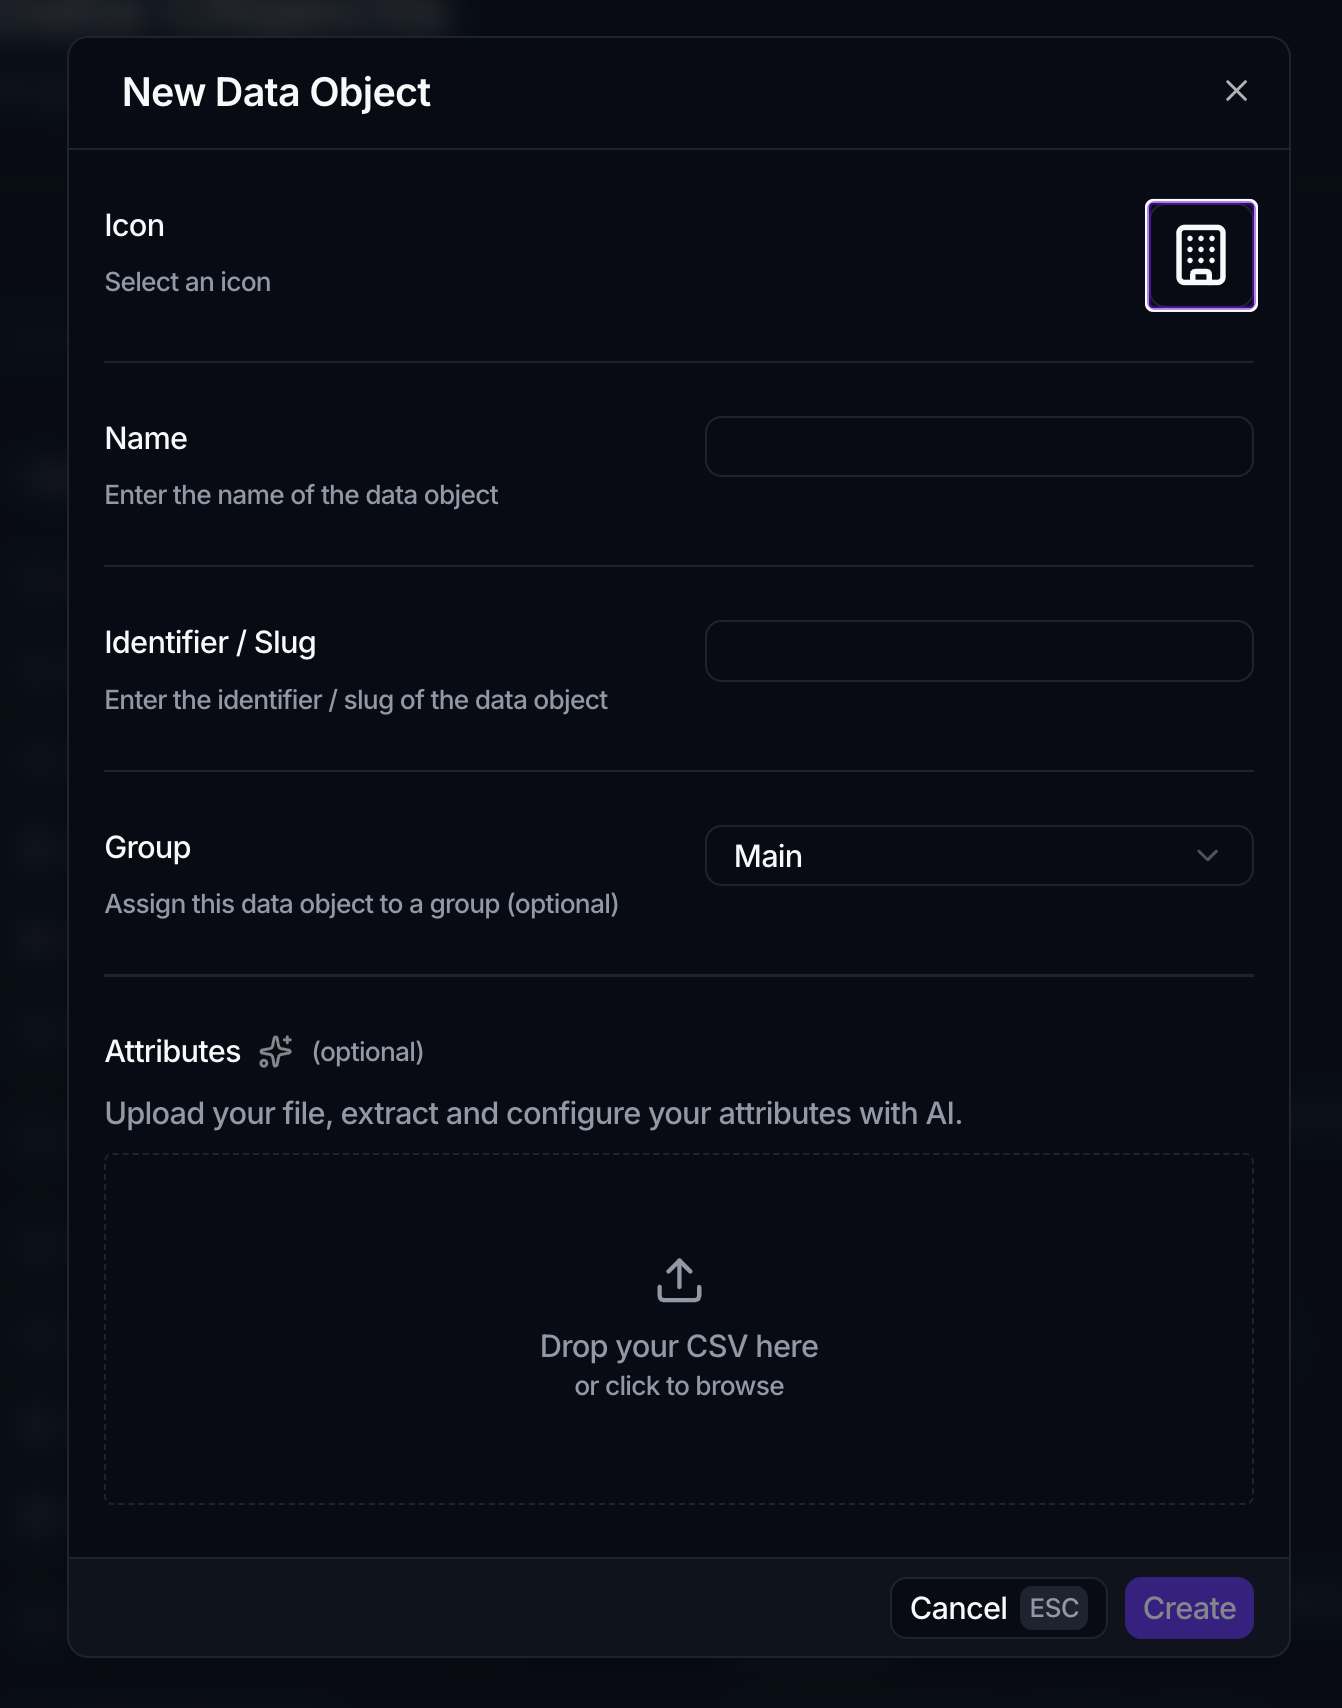
Populate it from a CSV as you create it
The New Data Object dialog has a CSV drop zone, which is the quickest way to go from a spreadsheet to a populated object:
- Drag your CSV onto Drop your CSV here (or click to browse).
- Click Extract attributes with AI. Spark's AI model reads your columns and proposes the object's attributes, inferring a sensible type for each, which you can review and adjust.
- Leave Ingest file's content checked to import the rows along with the schema.
- Click Create.
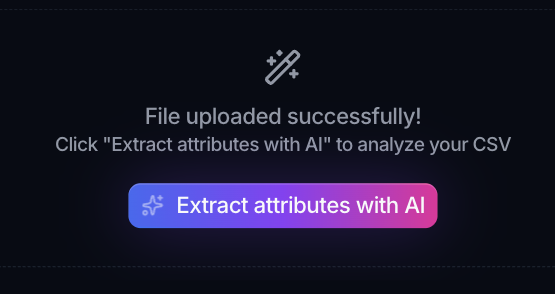
Spark proposes one attribute per column with an inferred type. Untick any column you don't want, rename it, or change its type from the dropdown before you create the object.
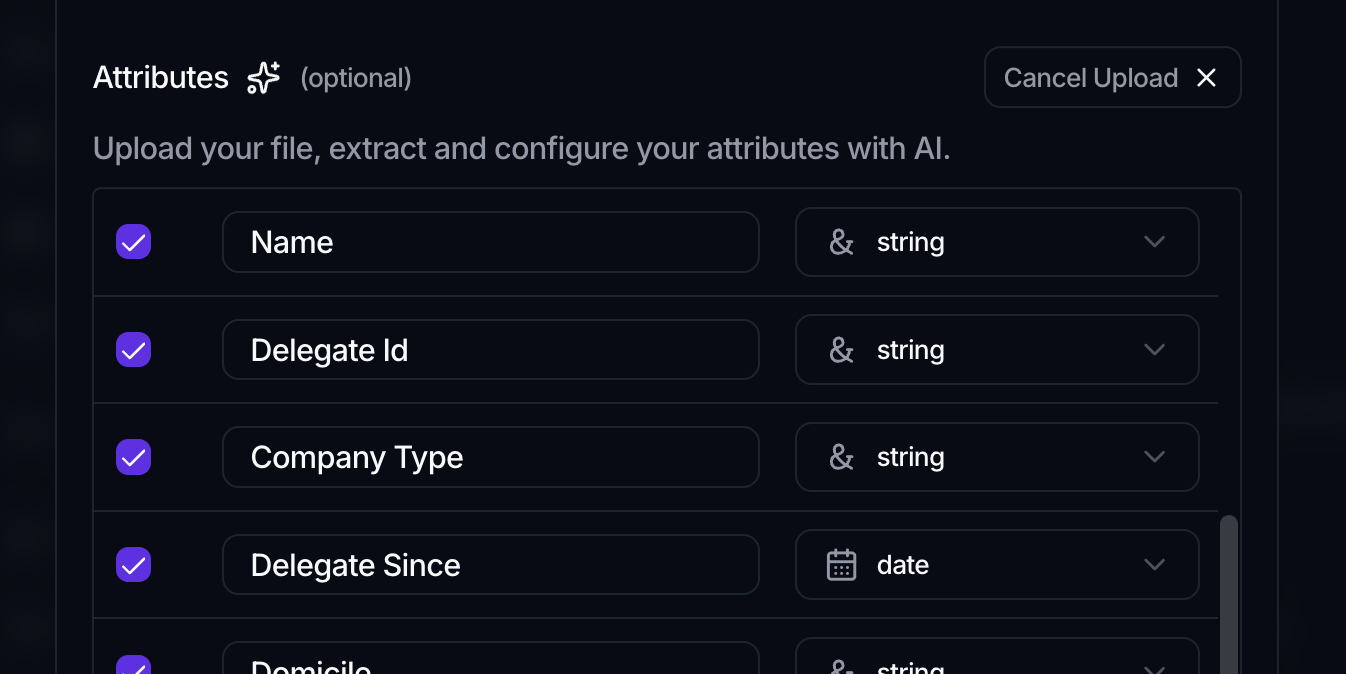
Every row becomes a record you can work with immediately.
Tidy the source before you import: one row per record, a header row with clear column names, and consistent date and number formats. A few minutes cleaning the CSV saves more time than fixing types afterward.
Configure the object
Once the object exists, open it from the Data Objects admin list to configure it. The editor has four tabs:
- General holds the object's Icon, Name, Identifier / Slug (read-only), Description, and Group. Changes save as you make them, so there's no separate save button.
- Attributes is the object's columns. Adding a Select or Multi-select opens a Configure Options section where you define the values it accepts and give each one a color, covered in Select and Multi-select. Click Add Attribute to add one, click a row to edit it, and use a row's ⋮ menu to copy its slug, open display options, or Archive it (archiving is a soft delete; the data stays safe). Each attribute shows its type, description and how many validators it has, with small icons beside the name for the properties it carries. Click a row open when a value is too long for its column. See Attribute types for what each type does and how to configure relationships, formulas, and the rest.
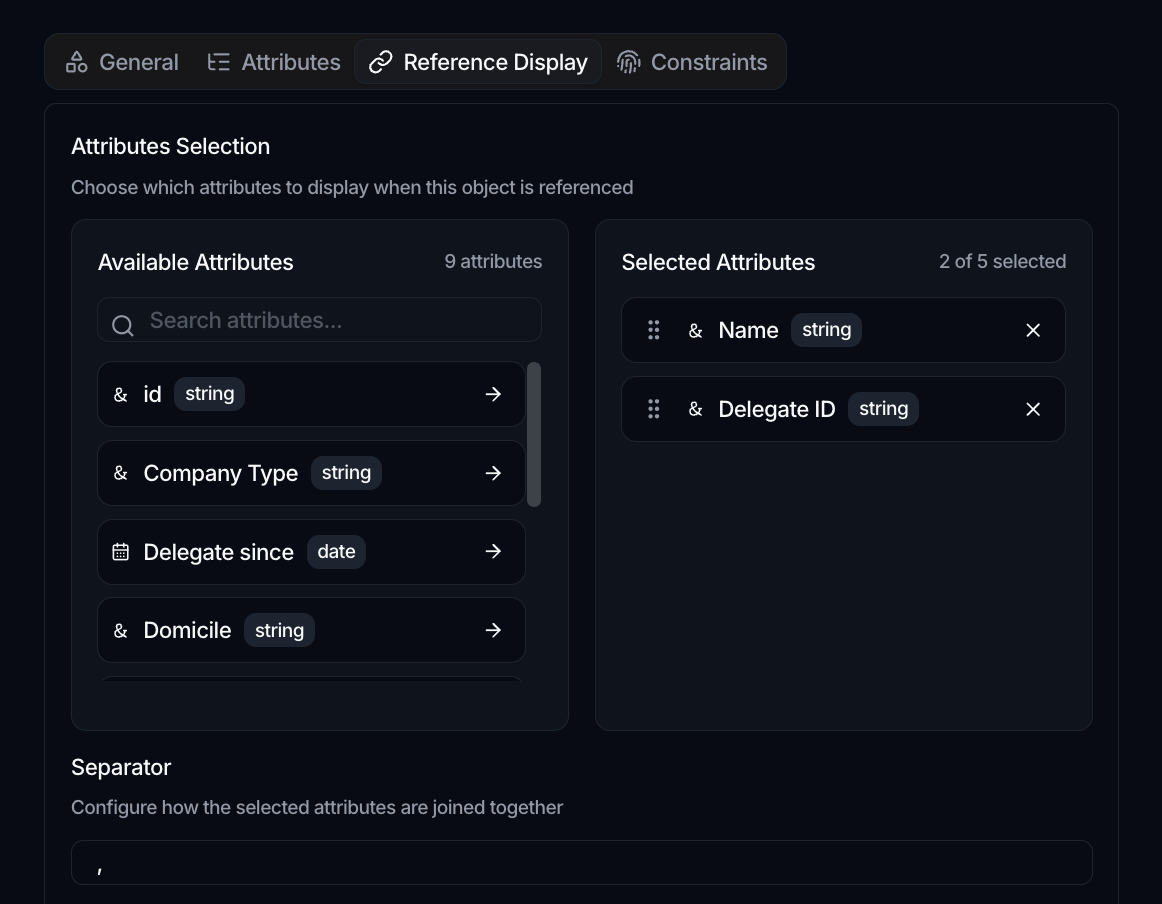
- Reference Display controls how a record of this object looks when another object links to it. Pick up to 5 text, number, or date attributes, drag them into the order you want, and set a Separator to join them; a live Preview shows the resulting label.
- Constraints sets uniqueness rules. Add a constraint with one attribute to make that column unique, or several attributes to require the combination to be unique. The system UUID primary key is always unique regardless of what you set here.
Spark infers a type for each attribute when it reads your CSV, but you can change any of them before creating the object, and add or adjust attributes later on the Attributes tab. The type is locked once an attribute exists, so it's worth getting right early.
Other ways to bring in data
Creating an object with a CSV is one path. Depending on where your data lives and how often it changes, you might use another:
- Into an object you already have: import a CSV from its record grid, with AI-assisted column mapping. See Add, edit & import records.
- On a recurring schedule: pull files automatically from a provider with Set up SFTP.
- In response to an event: fetch and load data with a workflow.
Organize objects into groups
As a workspace fills with data objects, you can sort them into named, collapsible sections. Grouping is done from the admin view where objects are created (Data, then Manage).
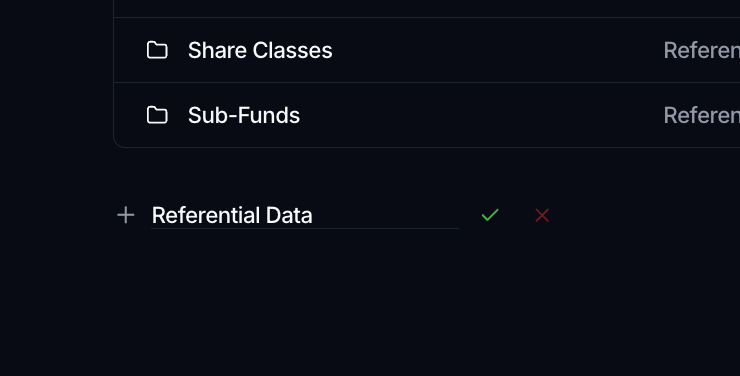
- Create a group: at the bottom of the object list, click New group, type a name (up to 30 characters), and confirm with the check button or Enter.
- Put an object in a group: open the object's ⋮ menu and choose Move to group, then pick a group, or Main to take it out of any group. Objects that aren't grouped sit in a section called Main.
- Rename or reorder a group: use the group header's ⋮ menu (Group actions) for Rename, Move up, and Move down.
- Delete a group: the same menu's Delete removes only the group. Its objects move back to Main and no data is deleted.
Collapse or expand a section with the chevron on its header, or use the Collapse all and Expand all toggle next to the search box. On the regular Data page these sections are read-only; grouping is managed from the admin view.
Where to go next
- Add and update rows: Add, edit & import records
- Reuse a common shape: Data object templates
- Pin it to a use case: Create a Space