Organize files
Upload files, organize them with labels and views, act on them in bulk, and preview them in place.
Files live on the Home Files page. Every file you bring into a workspace is stored there, listed in a table, and available to previews and workflows. This page covers uploading files, keeping them organized with labels and views, acting on them in bulk, and previewing them without leaving Spark.
Upload files
- Open the Home Files page.
- Click the Import button at the top right.
- The Upload Files dialog opens. Drag and drop files onto the drop zone, or click it to browse your computer.
- Review the list under Selected Files. Use the remove control on any row to drop a file before uploading.
- Click Submit. The button shows the count, for example Submit (3 files).
The dialog accepts CSV, TXT, PDF, XLSX, XLS, DAT, MD, and JSON files. Files of other types are ignored when dropped or browsed. You can add several files in one pass, and the upload runs them together with per-file progress.
You can also drag a whole folder onto the drop zone. Spark walks it, including subfolders, and adds the supported files inside (up to 200 at once), skipping system files. Folder import is drag and drop only; the browse button still picks individual files.
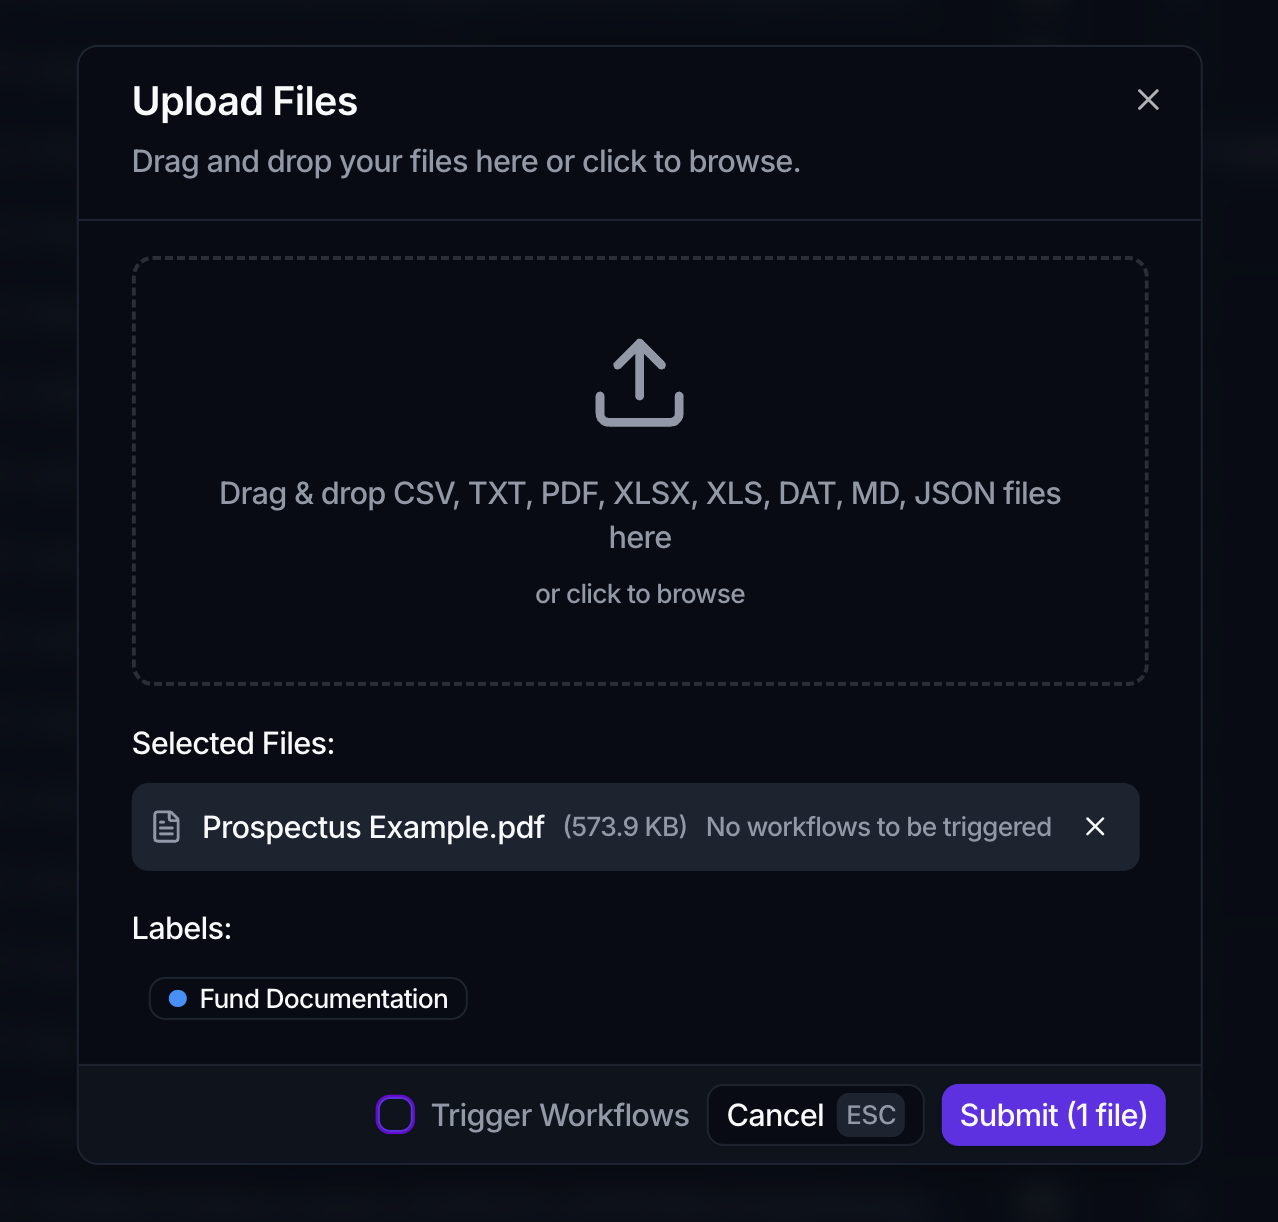
The Trigger Workflows checkbox at the bottom of the dialog is on by default. Leave it on so an arriving file can start a matching workflow, or clear it for a plain upload. See File-triggered workflows for how this connects to your automations.
Organize with labels
Labels are the primary way to group and find files. Once you have added at least one file to the Upload Files dialog, a Labels selector appears:
- Open the Labels selector.
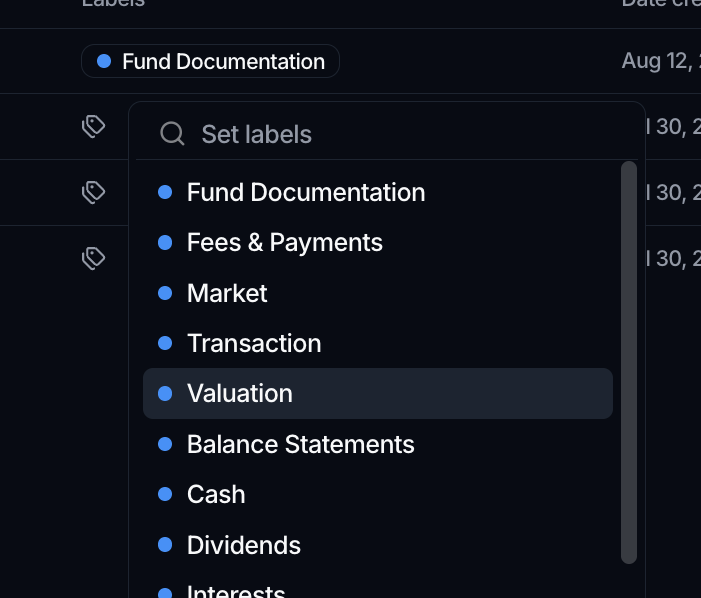
- Pick one or more existing labels, or type a new name to create a label on the spot and choose its color.
- Selected labels apply to every file in the current upload.
If you open the dialog while a label filter is active on the Files page, that filter is pre-selected, so new files inherit the label you are already browsing by. File labels are their own set, separate from the labels used on tasks.
After upload, the Files table lists each file with its labels, owner, and dates. You can change a file's labels from the table too, filter and sort to narrow a large library down to what you need, save those arrangements as views, and act on several files at once.
Choose which columns the table shows
Click Display to manage the columns of the current view: click an attribute to add it, click a shown one to remove it, and drag the rows to reorder them. Name stays first and cannot be removed.
Any field your workspace has added to Files appears here alongside Owner, Labels and the dates, so a view can carry the metadata your process actually needs, for example a custodian or a reporting period. See File fields.
Find files with saved views
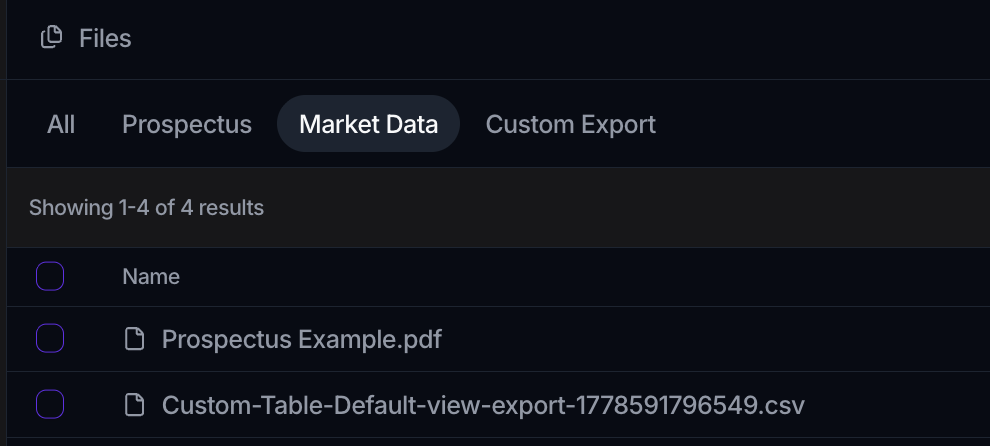
The Files table carries the same saved views as tasks: a strip of tabs across the top, starting with All. Set a filter or sort, then click Save to keep it as a view, or + to start a new one. Click a tab to switch, and right-click a tab to rename, duplicate, or delete it. Views are shared across the workspace.
Download the file list
Click Export on the Files toolbar to download the list as a CSV. It follows what is on screen: the current view's filters decide which files are included, its sort sets the row order, and its columns decide which fields are written out. Adjust those first to shape the file.
With rows selected, the export narrows to your selection instead, which is the quickest way to hand someone a list of exactly the files you have picked out.
The export lists the file records, their labels, owners and dates; it does not download the files themselves. Use a file's row menu for that.

Manage files in bulk
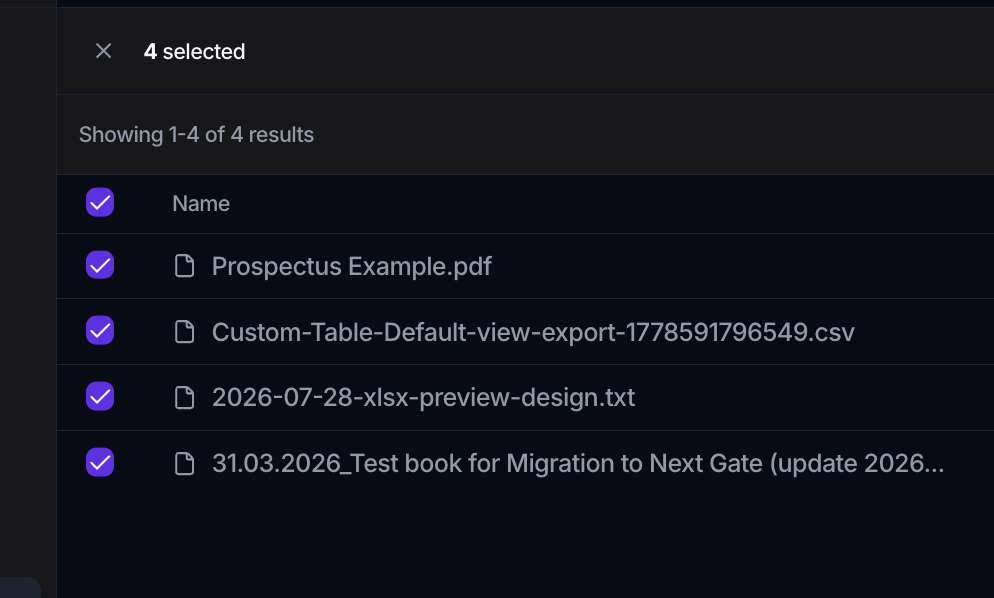
Select files with the checkboxes at the left of the table. The header checkbox selects the current page, and a prompt lets you select all files matching your filters. A bar then shows N selected with these actions:
- Archive and Restore move files in and out of the active list.
- The labels control replaces the labels on the selected files with the set you choose, so choosing none clears their labels. A Replace labels? dialog confirms first.
- Delete removes the files permanently, after an impact preview.
File preview
You can inspect the contents of many files directly on the Files page, without downloading them. A preview opens in a side panel next to the file table, so you keep your place in the list while you read.
- Click a row in the file table.
- A Preview panel opens on the right, showing the file contents.
The panel is resizable. Drag the handle between the table and the panel to give either side more room. Click the close control at the top right of the panel to return to the full-width table.
Supported formats
Previews are available for these file types:
| Type | Extensions |
|---|---|
| Spreadsheet | xlsx, xls |
| Delimited data | csv |
| Plain text | txt |
Spreadsheet and CSV files render as a table, and large files are truncated. For CSV and text files, the panel header shows how much of the file is displayed, for example the number of rows or lines out of the total.
If you click a file whose type cannot be previewed, no panel opens and a short notice appears reading Preview not available for .ext files, where ext is the file's extension.
A file being previewable is separate from it being uploadable. The Upload Files dialog also accepts DAT, MD, and JSON, but those types do not have an in-app preview yet. Download them to view their contents.
Preview from a link
Previews can also be reached by a direct link. When a preview is open, the page URL carries the file reference, so you can copy that link and reopen the same file's preview later, or share it with a teammate who has access to the workspace. Opening such a link takes you straight to the Files page with the panel already showing that file.
Preview a file from a canvas
Files also preview from a canvas. When a record on a canvas references a file, it shows as a chip with the file's name. While you are viewing the canvas (not editing its layout), click the chip to open the same preview in a dialog. It works for the previewable types above; other types show the same not-available notice.